Mini Fat Free Cherry Pies
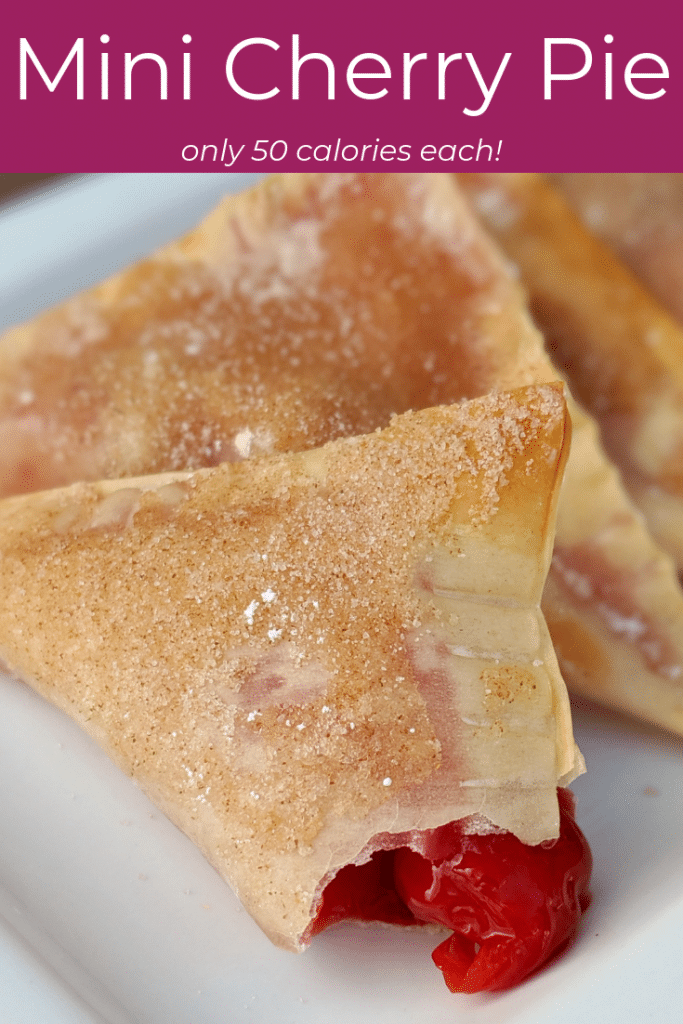
Healthy delicious, 50 calorie fat free cherry pie. Make these in 10 minutes for a tempting, but guilt free treat!
Want to save this post?
Enter your email below and get it sent straight to your inbox.
Making Fat Free Cherry Pies is Simple!
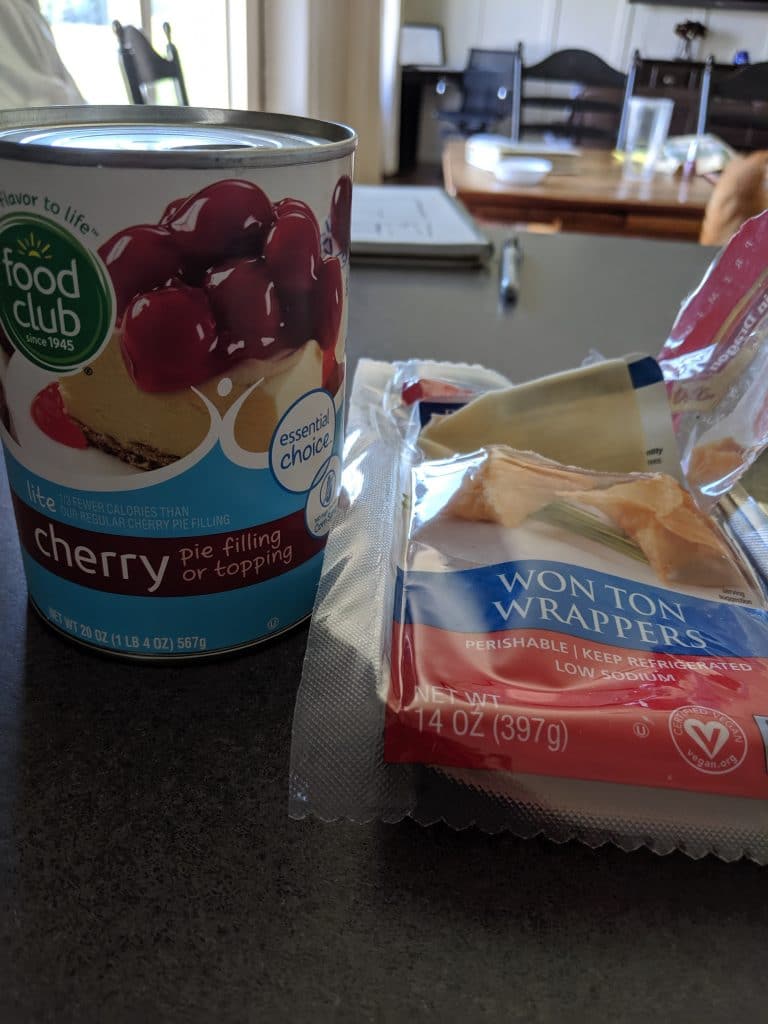
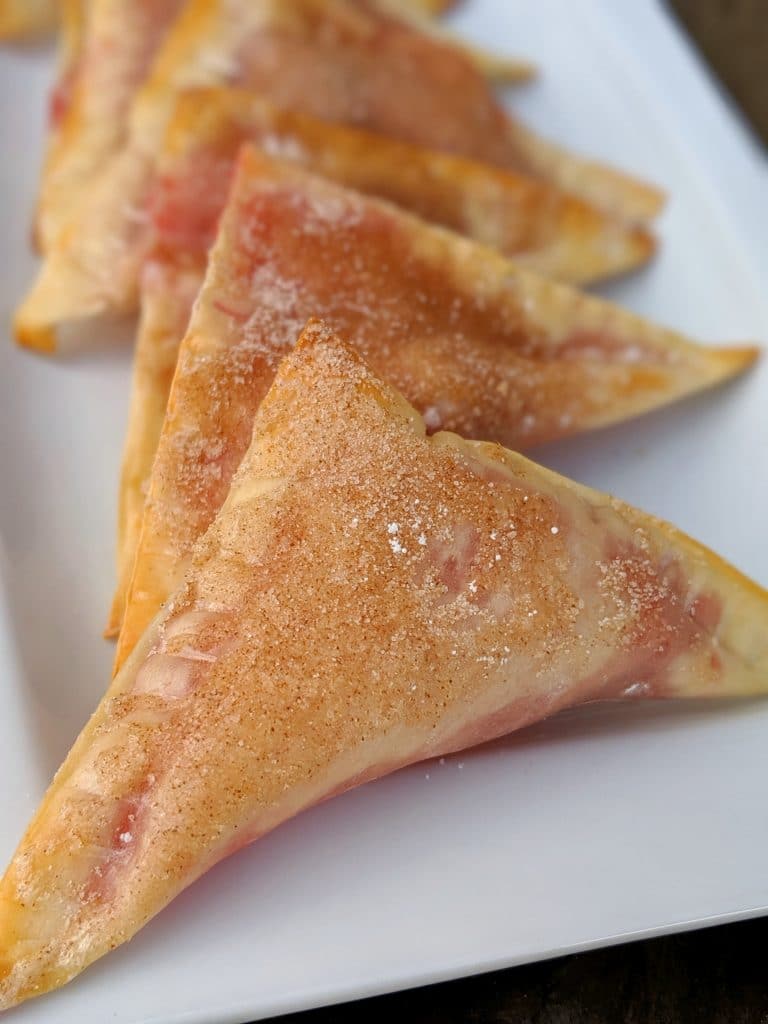
Using Wonton wrappers and some light cherry pie filling, I made these little cherry pies and baked them in the oven. Such a delicious summer treat!
Not only do these healthy cherry pies taste great, but they are also really easy to make. If you have young kids, you could have them help you in the kitchen. They will absolutely love helping make AND eat some fat-free cherry pies.
For more kid-friendly summer activities, check out this link.
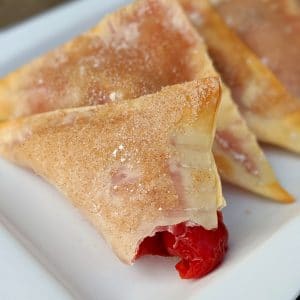
Fat Free Cherry Pie
Ingredients
- 1 square wonton (25 calories)
- 1 tablespoon light cherry pie filling (25 calories)
- 1 brush egg white
- 1 sprinkle cinnamon sugar
Instructions
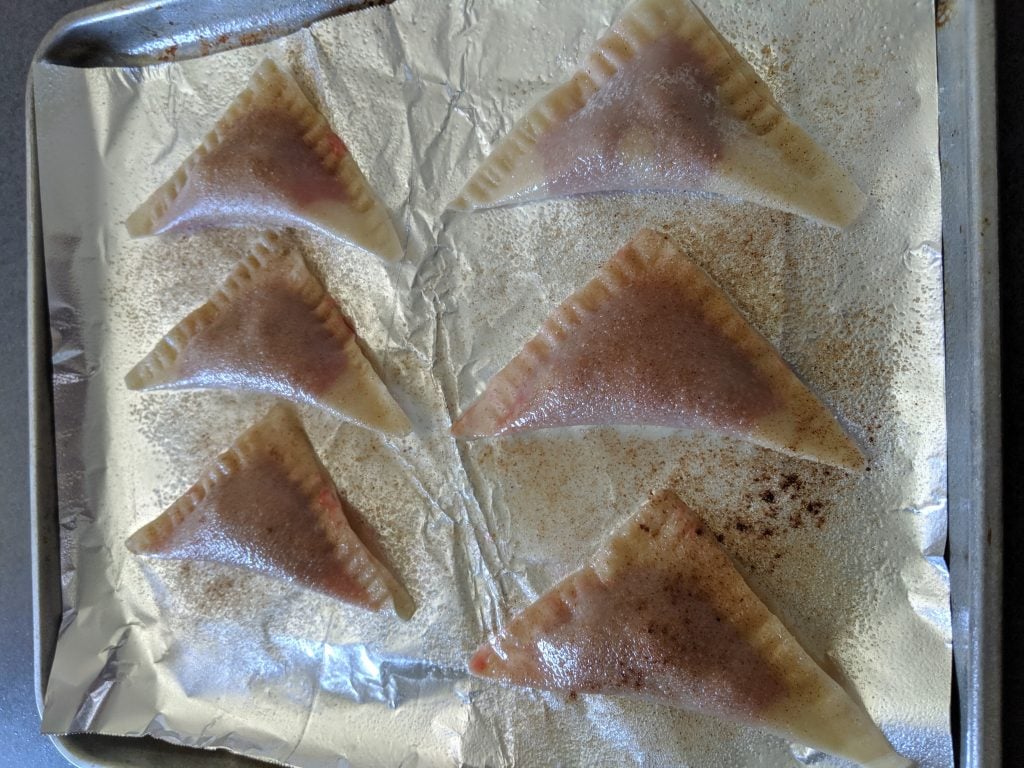
- Add 1 tablespoon of canned cherry pie filling to a square wonton.
- fold over and crimp the edges
- Brush with an egg white wash
- Sprinkle with cinnamon sugar
- Bake at 375 for 8-10 minutes
Nutrition
I don’t just make healthy cherry pies. In fact, I have tons of other recipes and articles about how to help you live a healthy, balanced diet. Read some of my other posts for help or inspiration in your food journey!
- Classic Broccoli Salad – A Family Favorite
- The Perfect Small Batch Zucchini Bread
- Low Carb Chicken Caprese
- White Chicken Lasagna {Sunday Family Dinner for a Crowd}
- Southwest BBQ Chicken Salad {With Cilantro Ranch Dressing}

Hi! I’m Amy, creator and owner of Heath Beet. I share low calorie recipes and portion control hacks to get you eating healthier, feel lighter, and satisfied with less food, to make weight loss finally possible! (Read all about me and my health journey here!)


made them for the first time. I had trouble keeping the cherry filling in the wonton. I crimped the edges but it still managed to ooze out
I use a little swipe of water on my finger around the edges to help the edges to stick together. Also, you could try a little less filling.
These little pies look good but dont the winton wrappers have alot of fat? What brand have 0 fat?
Just the ones at Walmart… Here’s the twin gardens brand
https://www.walmart.com/ip/Twin-Dragon-Refrigerated-Plant-Based-Wonton-Wraps-14-oz/759416347?classType=REGULAR&from=/search